Mud, Water, and Miles: Setting Up Your Bike for Riverside Trail Riding
There's something genuinely special about riding along a river corridor. The sound of moving water, the smell of damp earth, the way morning light cuts through the cottonwoods — it's a riding experience that's hard to match. But anyone who's spent real time on riverbank trails knows the flip side: the mud that swallows your rear wheel, the standing water you can't avoid, and the gritty mess that finds its way into every moving part on your bike.
Riverside riding has its own set of demands, and if you show up with the wrong setup, you're either going to have a miserable time or an expensive repair bill. Probably both. The good news? A few smart adjustments to your gear and bike can make all the difference between grinding through the muck and actually enjoying it.
Start With Your Tires — They're Doing the Heavy Lifting
If you're riding a riverside trail on slick XC tires, you're already losing. Wet, silty riverbank soil behaves completely differently from dry hardpack. It's loose on top, slick underneath, and it packs into tight tread patterns almost instantly.
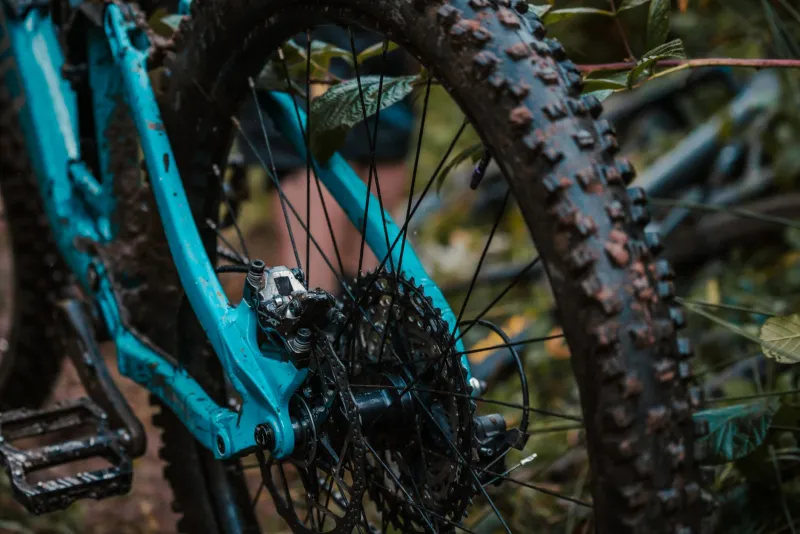
For most riverside conditions, you want a tire with an aggressive, open tread pattern — something in the 2.3" to 2.5" range that can dig through surface mud and find grip underneath. Maxxis Minion DHF and Specialized Butcher are popular choices among riders who spend a lot of time on wet trails, but the key characteristic to look for is widely spaced knobs that shed mud rather than hold it.
Tire pressure matters just as much as tread. Running tubeless? Drop your pressure lower than you normally would — somewhere around 18–22 PSI in the rear and slightly less up front. That extra contact patch helps you float over soft spots instead of punching through them. If you're still running tubes, go as low as you comfortably can without risking pinch flats.
Fenders: Not Just for Commuters
Here's a piece of gear that trail riders often skip, and they regret it every single time. A good set of trail fenders — not the flimsy plastic clip-ons, but something with actual coverage — will keep roost off your face, mud out of your eyes, and grit away from your drivetrain.
Brands like SKS and Ass Savers make trail-specific options that mount cleanly without adding much weight. Even a simple seat tube fender that deflects rear wheel spray is worth its weight in gold on a wet riverside loop. Your riding buddy behind you will also thank you.
Protect Your Drivetrain Like It's Your Livelihood
Riverside mud is particularly brutal on drivetrains because it's often mixed with fine silt and sand — essentially a grinding paste that works its way into your chain, cassette, and derailleur pulleys. A single wet ride can do more damage to an unprotected drivetrain than months of dry trail use.
The fix isn't complicated, but it does require some consistency:
Before your ride: Apply a wet-condition chain lube. Products like Squirt Wet or Finish Line Wet Lube are specifically formulated to resist washout and repel moisture. Skip the dry lube entirely — it'll strip off the moment you hit standing water.
Derailleur setup: Make sure your cable tension is dialed in before you head out. Mud causes cables to drag, which throws off shifting performance. If your bike has been sitting between rides, run through your gears in the driveway before you commit to a trail.
After your ride: This is where most people drop the ball. Rinse your bike with low-pressure water — not a pressure washer, which forces water into bearings and headsets — and dry it down before re-lubing the chain. Leaving a mud-caked drivetrain to sit overnight is a fast track to premature wear.
Clothing and Protection for Wet Conditions
The right gear on your body is just as critical as what's on your bike. Riverside trails have a habit of staying wet long after rainfall because they're in low-lying flood zones with poor drainage. You can show up on a sunny Tuesday and still be riding through ankle-deep puddles.
A few essentials:
Waterproof shell jacket: Look for something packable and breathable, like the Patagonia Dirt Craft or Gore Wear C3 jacket. You don't need full rain gear for most rides, but a light shell that blocks wind-driven spray is worth carrying in your pack.
Shorts or bibs with a chamois that handles moisture: Wet chamois are uncomfortable and can cause skin irritation on longer rides. Merino-blend bibs or those with quick-dry fabrics hold up much better than standard road-style chamois.
Waterproof gloves or overmitts: Cold, wet hands kill your grip and your enjoyment. Even a lightweight neoprene glove makes a significant difference when temperatures drop and conditions get sloppy.
Eye protection: Mud spray in your eyes is both dangerous and miserable. A clear or low-light lens is your best bet for overcast, wet-condition riding.
Suspension Setup and Frame Considerations
If you're riding a full-suspension bike, wet conditions actually favor slightly more compression damping than you'd use on dry trails. Soft, waterlogged terrain can cause your suspension to blow through its travel unpredictably. Firming up your compression a click or two helps maintain control without sacrificing too much comfort.
For hardtail riders, a dropper post becomes even more valuable on muddy riverside trails. Technical wet sections demand constant weight shifts, and being able to drop your saddle quickly frees up your hips to move with the bike.
Frame material matters less than frame clearance. Whatever you're riding, check that there's adequate mud clearance between your tires and the frame, especially at the chainstays and fork crown. Some older hardtail designs and many gravel bikes pack mud into these tight spaces and essentially lock up. If that's your situation, a tire slightly narrower than your maximum clearance gives debris somewhere to go.
The Post-Ride Ritual That Saves You Money
Every experienced riverside rider develops a post-ride routine, and it's worth building yours sooner rather than later. Rinse, dry, lube, inspect. Check your brake pads for embedded grit. Spin your wheels and listen for any rubbing. Wipe down your fork stanchions and inspect the seals. These ten minutes after a ride are what keep a $300 maintenance bill from sneaking up on you three months down the road.
Riverside trails are worth every bit of extra effort they demand. The riding is unique, the scenery is unmatched, and there's a particular satisfaction in cleaning a muddy, technical section that you couldn't have touched with a lesser setup. Get your bike dialed in, pack the right kit, and go find your river.